The AI chatbot in WapBlaster can answer common questions instantly and hand complex conversations to your team. This visual guide walks through enabling the assistant, connecting it, tuning its general behaviour and setting the hours it should respond, so you can go live with confidence.
Step 1: Open the AI bot settings
From the vendor console, open the AI chatbot section. This is where you enable the assistant and control how it behaves inside your WhatsApp conversations.
Step 2: Connect the AI assistant
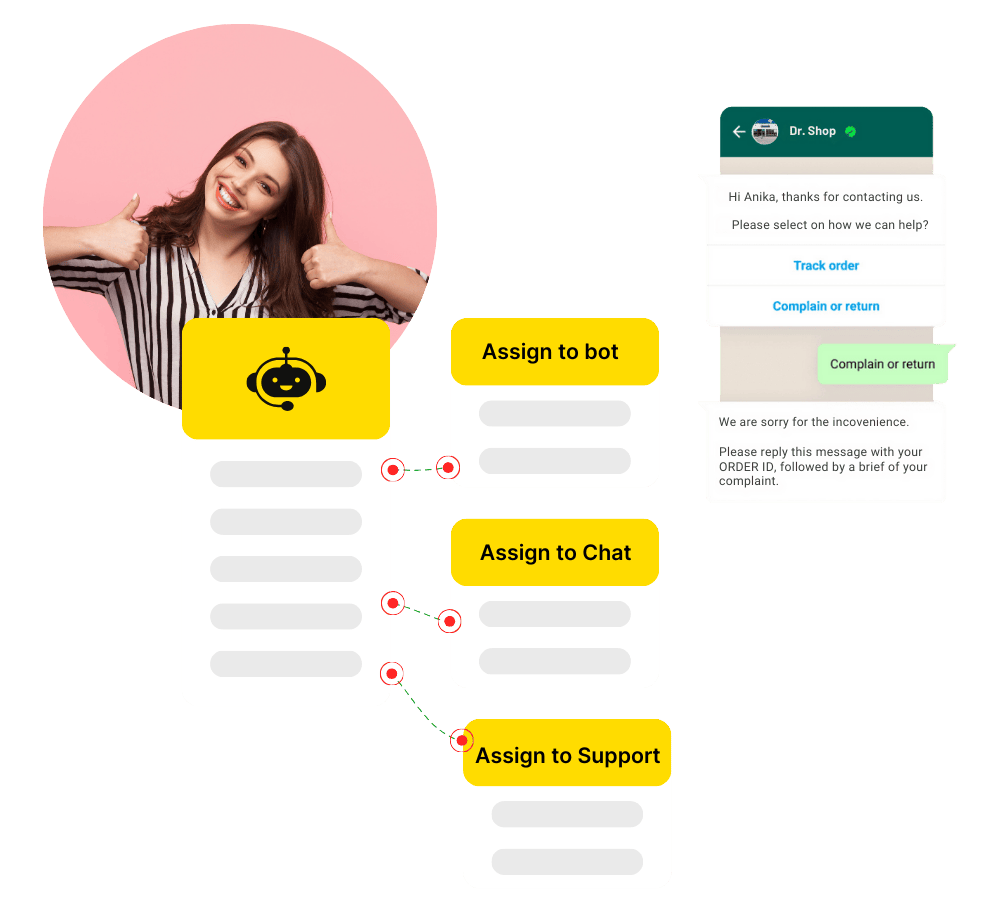
Connect your AI provider and confirm the assistant is linked. Once connected, WapBlaster can generate replies and route conversations based on your rules.
Step 3: Configure general behaviour
Set the assistant’s general settings, such as tone, fallback handling and when to escalate to a human agent. Keep answers useful and always offer a clear route to a person.
Step 4: Set active hours and timing
Decide when the bot should respond. Configuring timing means customers get instant help during set hours and a clear expectation the rest of the time.
Step 5: Test before you go live
Send test messages from your own number to confirm the assistant answers correctly, escalates when needed, and respects the timing you set.
Helpful next reads
WhatsApp chatbot best practices, WhatsApp chatbot feature page, How to build a no-code bot flow.
Frequently asked questions
How do I enable the AI chatbot in WapBlaster?
Open the AI chatbot section in the vendor console, connect your AI provider, configure the general behaviour and timing, then test with your own number before going live.
Can the AI bot hand over to a human agent?
Yes. In the general settings you can define how and when the assistant escalates a conversation to your team so complex or high-value chats reach a person.
Can I control when the AI bot replies?
Yes. The timing settings let you define active hours, so the assistant responds during the hours you choose and sets clear expectations otherwise.