A WhatsApp broadcast lets you reach many opted-in customers with one relevant message. This guide walks through creating a campaign in WapBlaster, selecting your audience, choosing an approved template and reviewing the results.
Step 1: Open the campaign builder
From the console, open the campaign area and start a new broadcast. This is where you build, schedule and track your WhatsApp campaigns.
Step 2: Choose your audience
Select an opted-in audience or segment. Sending to the right, consented contacts protects your quality rating and improves results.
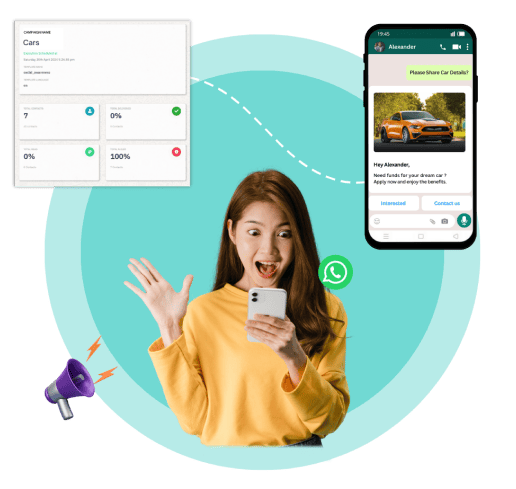
Step 3: Pick an approved template
Choose an approved message template and add any variables, buttons or media so the message is relevant and actionable.
Step 4: Review and send
Preview the message, confirm the audience, and send. Always test with your own number first to check formatting and links.
Step 5: Track the results
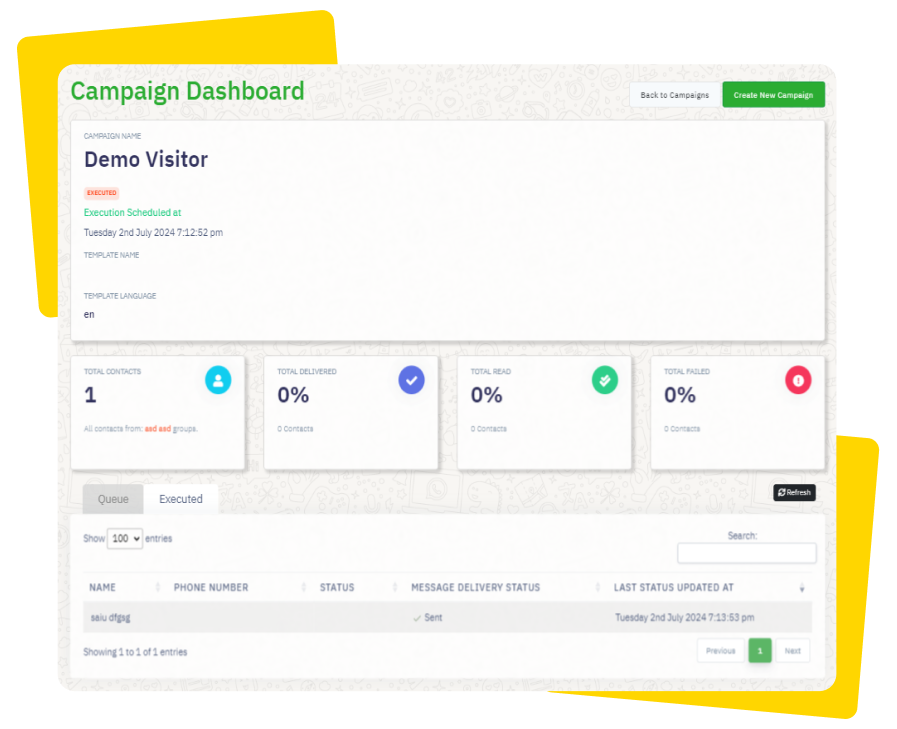
After sending, review delivery, reads and replies so you can learn what resonates and improve the next campaign.
Helpful next reads
WhatsApp broadcast messaging feature, How to schedule campaigns, WhatsApp campaign ideas.
Frequently asked questions
How do I send a WhatsApp broadcast in WapBlaster?
Open the campaign builder, choose an opted-in audience, select an approved template, preview and test it, then send and review the delivery and reply results.
Who can I send a WhatsApp broadcast to?
Only contacts who have opted in to receive messages. Sending to consented audiences protects your number quality and improves engagement.
How do I know if my campaign performed well?
Review delivery, read and reply metrics after sending, and compare them across campaigns to see what content and timing work best.