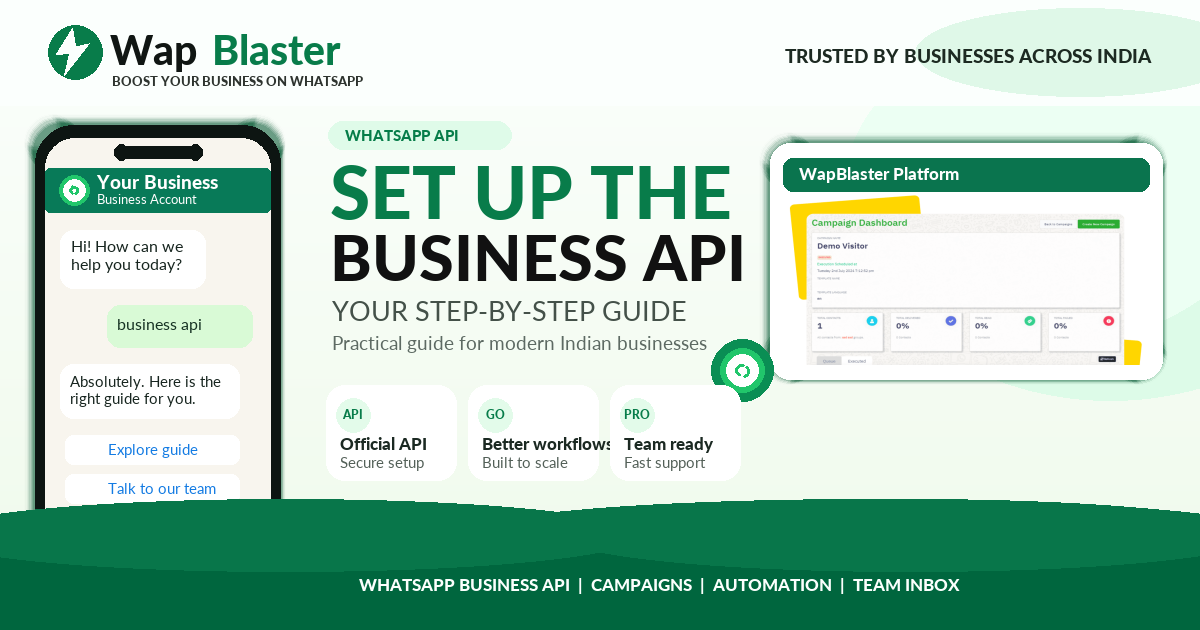
Setting up the WhatsApp Business API sounds intimidating, but with the right provider it is a clear, repeatable process you can finish in a day. This step-by-step 2026 guide walks through every stage, from prerequisites to sending your first message, and flags the common mistakes that slow people down.
What you need before you start
- A phone number that is not currently active on the WhatsApp Business App or personal WhatsApp (or one you are ready to migrate).
- A Meta (Facebook) Business Manager account.
- Your business details and documents for verification.
- A WhatsApp Business API provider such as WapBlaster to give you the dashboard and tooling.
Step 1: Create or access your Meta Business Manager
Everything on the WhatsApp Business Platform is tied to Meta Business Manager. Create one if you do not have it, add your business name and details, and make sure you have admin access. This is the account Meta uses to verify you.
Step 2: Choose a provider and connect
Rather than building against raw API calls, connect through a provider. This gives you a dashboard for campaigns, chatbots and templates without any coding. Sign up, then use the guided embedded signup to link your Meta Business account.
Step 3: Add and verify your phone number
Add the number you want to use. It will receive a verification code by SMS or call. Remember a number can only be active in one WhatsApp product at a time, so if it is on the Business App, migrate it first. Set a clear display name that matches your brand and follows WhatsApp naming rules.
Step 4: Complete Meta Business Verification
In Business Manager's Security Centre, submit your business documents for verification. This unlocks higher messaging limits and is a prerequisite for the green tick. Approval can take anywhere from minutes to a few days.
Step 5: Create your first message templates
Business-initiated messages need approved templates. Create a couple to start, such as a welcome message and an order update, choosing the correct category. Approval usually takes minutes to a few hours. Getting templates approved cleanly is a skill in itself.
Step 6: Import contacts and collect opt-ins
Import your opted-in contacts and make sure you have a way to keep collecting consent going forward. Only message people who agreed to hear from you; this protects your quality rating from day one.
Step 7: Send a test and then go live
Send a test message to your own number to confirm delivery, then start with a small, high-quality campaign. Warm up a new number gradually rather than blasting thousands on day one.
Common setup mistakes to avoid
- Trying to use a number that is still active on the Business App.
- Skipping business verification and then hitting low messaging limits.
- Submitting templates with variable or category errors that get rejected.
- Importing cold, non-opted-in contacts and harming your quality rating early.
- Sending at full volume immediately instead of warming up.
How WapBlaster helps
WapBlaster handles the entire setup with guided signup, template management, contact import and campaigns, so you go live the same day without touching code. Get started on the WapBlaster platform.
Frequently asked questions
How long does WhatsApp Business API setup take?
With a provider, the technical connection takes under an hour. Business verification and template approval can add anywhere from a few hours to a couple of days depending on Meta's review.
Do I need a developer to set up the API?
No. Using a platform like WapBlaster, the whole process is done through a dashboard with no coding required.
Can I use my existing business number?
Yes, if you migrate it off the Business App first. A number can only be active in one WhatsApp product at a time.
Is business verification mandatory?
You can start messaging with limited capacity before it completes, but verification is needed to raise your limits and to qualify for the green tick, so do it early.